

In the world of AI, text-to-image generation can feel a bit mysterious. How does a simple line of text transform into a rich, detailed image? Imagine this process as designing and making an outfit — a metaphor that brings clarity to the steps, tools, and options involved. This analogy breaks down how each component works together to create an image from text, providing a structured way to visualize how different settings influence the outcome.
The Client’s Request: The Prompt
The prompt is like the request from a client describing exactly what they want. It’s a set of instructions, detailing everything from the color scheme to the style of the outfit. The clearer and more specific the client’s request, the closer the final result will match their vision. Prompts direct the entire process, setting the tone, themes, and details that the design will incorporate.
Prompt Example:
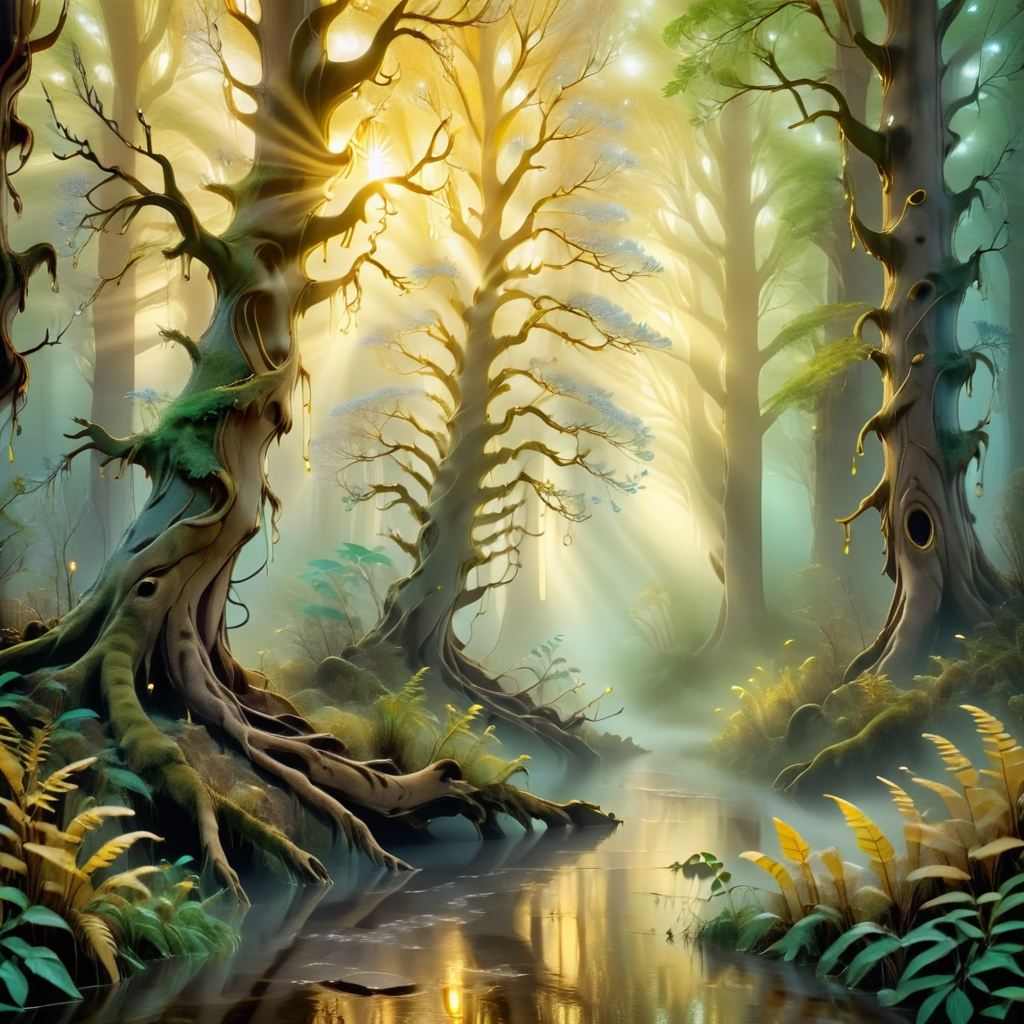
“A magical forest at dawn, filled with mist, golden sunlight streaming through ancient trees, enchanted creatures hiding among the foliage, ethereal and dreamlike.”
BASE SETTINGS
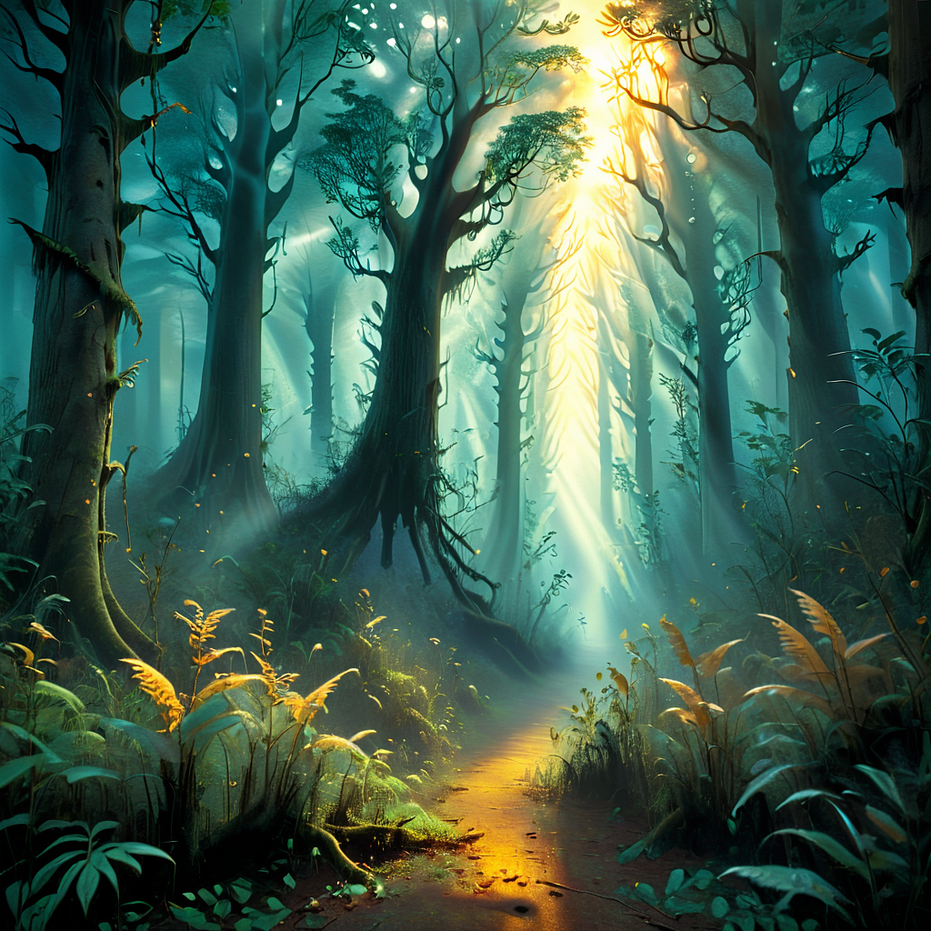
Before experimenting with variations, it’s helpful to establish a solid set of BASE SETTINGS for generating the initial images. This base configuration provides a balanced, high-quality foundation, allowing us to see the effect of individual adjustments clearly.
Base Settings Configuration
Checkpoint (Mannequin): Dynavision XL: 3D render
This provides a 3D base that can handle adjustments in stylization, detail, and adherence well, giving a solid foundation.
LoRA (Clothing): artfullySOFTSUBTLE
Adds a gentle, polished quality without overpowering the base, allowing other details to shine and maintaining balance for comparisons.
Sampler (Machine): DPM++
Known for delivering refined and detailed outputs, this sampler will establish a high-quality image that responds well to adjustments in other settings.
Steps (Getting Ready): 20 Steps
Balanced detailing that provides good structure without excessive refinement, offering a midpoint for comparison.
Seed (Template): Constant Seed : 1234
This ensures consistent base images for comparison across settings, allowing each change to stand out clearly.
CFG (Designer’s Adherence): CFG 7
Balanced between prompt adherence and creativity, this setting offers a harmonious look that can shift towards strict or loose interpretations based on CFG changes.
Resolution (Material Quality): 1024x1024
High-resolution output captures a clear, high-quality image that highlights the effects of other adjustments.
With these BASE SETTINGS in place, the next step is to modify individual components one at a time, comparing outputs to see how each adjustment influences the image.
Component Breakdown with Test Settings
Each element in text-to-image generation plays a role, just like every tool and material does when creating a tailored outfit. Here’s how each piece fits into the process, along with test settings to illustrate the effects of different configurations.
1. Checkpoint: The Mannequin
The checkpoint is like a mannequin. Just as a mannequin provides the basic shape and support for an outfit, the checkpoint is the foundational model onto which everything else is built. Different checkpoints offer unique forms and qualities, allowing for various creative possibilities. The mannequin’s shape affects the final design, just as the checkpoint dictates the underlying structure of the generated image.
Testing Checkpoints:
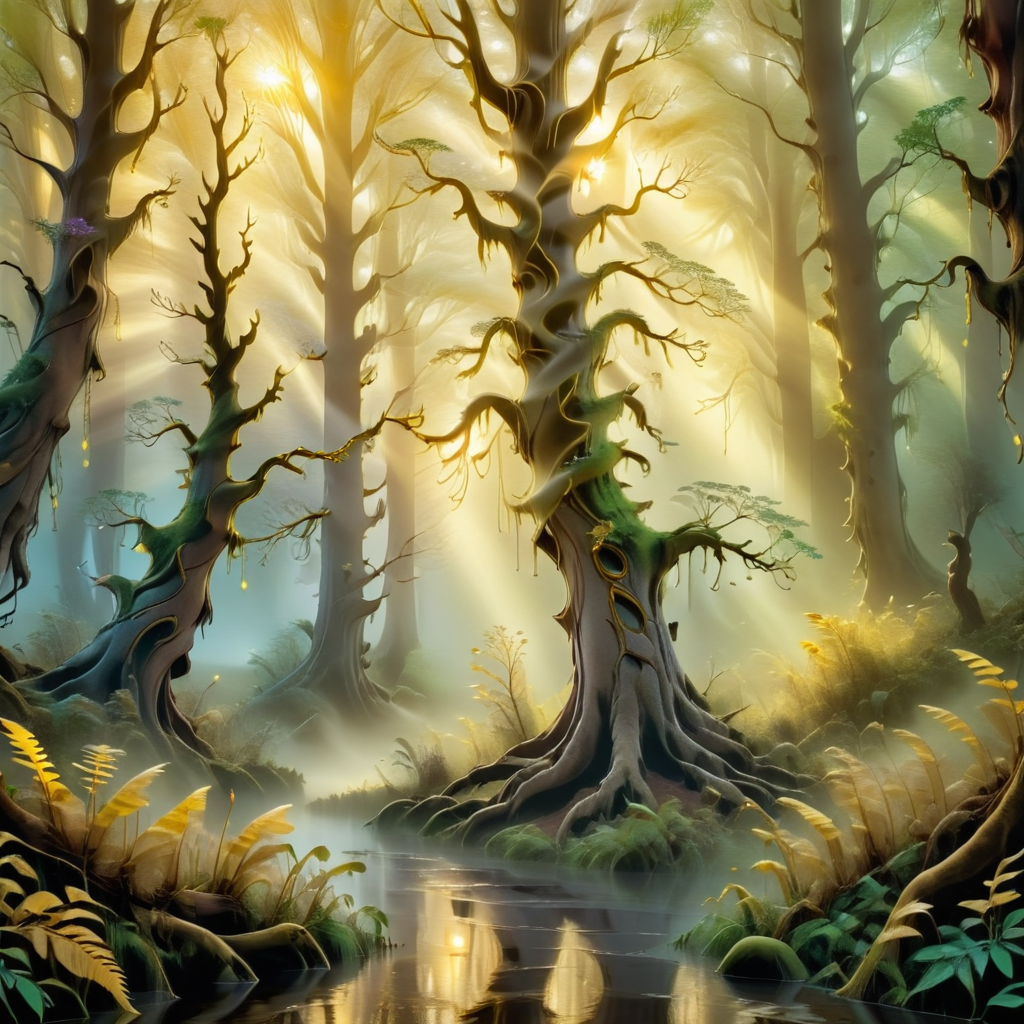
AlbedoBase XL: Realism
SLIGHTLY MORE REALISTIC
sdxlNijiSeven: Comicbook style
THIS CHECKPOINT IMPARTS MORE OF A MANGA STYLE
Dynavision XL: 3D render
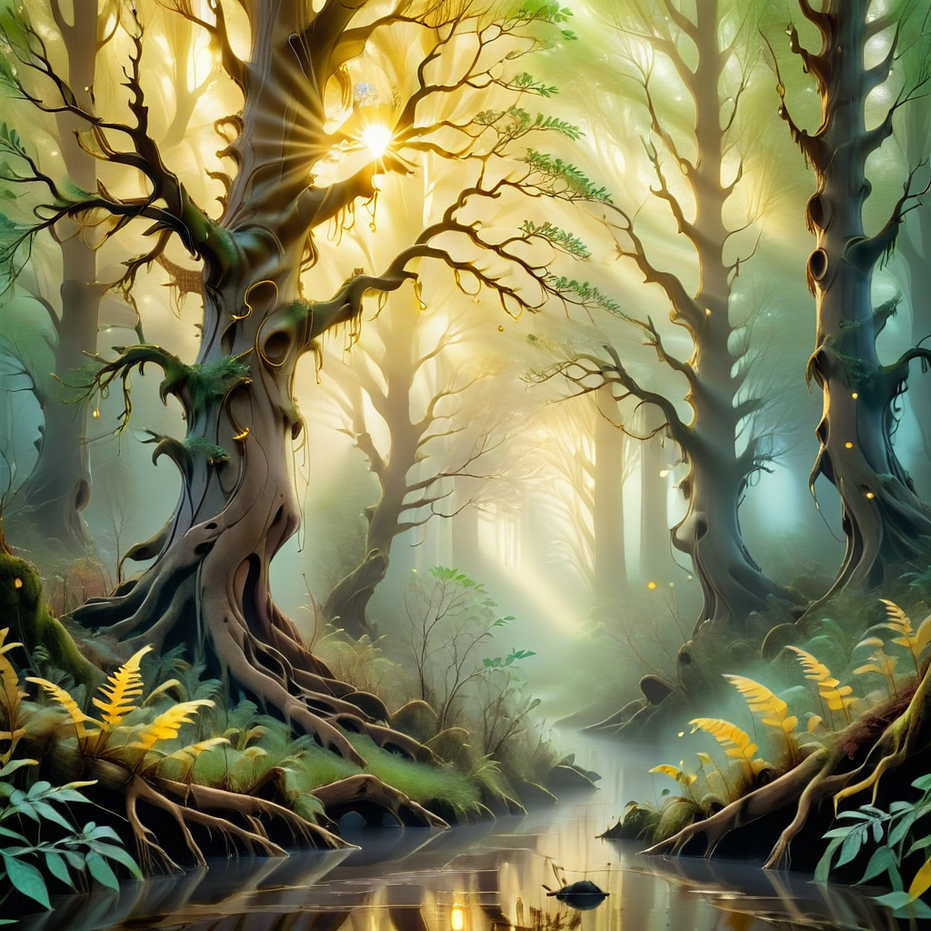
THIS IMAGE IS THE SAME AS THE BASE IMAGE
2. LoRA: The Clothing
The clothing represents the customizable details added to the mannequin — similar to the LoRA (Low-Rank Adaptation) layer. LoRAs are designed to alter or enhance specific qualities in the checkpoint without changing its core. Like trying on a coat or adding a scarf, LoRAs offer easy and versatile ways to shift the look, adding personality and depth to the final image.
Testing LoRAs:
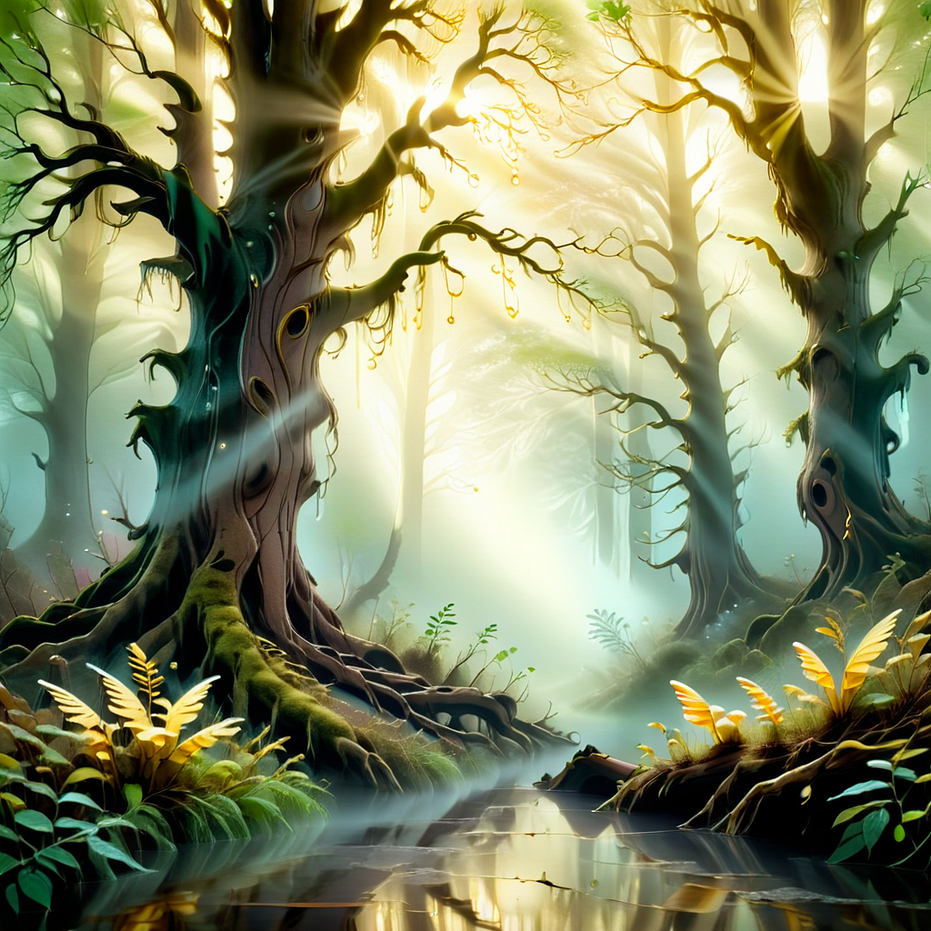
artfullySOFTSUBTLE: Soft, warm, and understated elegance
THIS IMAGE IS THE SAME AS THE BASE IMAGE
artfullyECHELIER: Bold, expressive stylization inspired by classical art

CHANGING THE LORA FOR A STYLIZED LOOK
artfullyMAP1P: Map-like, structured details that add architectural qualities, first person perspective, gaming
CHANGING THE LORA FOR A GAMELIKE, FIRST PERSON PERSPECTIVE
3. Sampler: The Machine Used to Make the Clothing
The sampler acts like the machine used to stitch the outfit together. Different stitching techniques (or samplers) produce different effects, impacting texture, detail, and style. For certain looks, specific samplers bring out the best qualities, just like certain fabrics or materials require a unique sewing technique to achieve the desired finish. We’ll explore several sampler options to observe texture and detail differences.
Testing Sampler:
DPM++: Detailed and polished
THIS IMAGE IS THE SAME AS THE BASE IMAGE
Euler A: Balanced texture and quality

SLIGHTLY SMOOTHER, MORE DYNAMIC RENDER
Restart: Smooth with unique variations
RESTART ADDS MORE COMPLEXITY TO THE IMAGE TYPICALLY
4. Steps: Getting Ready for the Day
Think of steps as the number of actions taken when preparing for the day. Fewer steps might mean brushing your teeth and grabbing your keys — quick, functional, and ready to go. Higher steps involve full grooming, thoughtful outfit selection, hair, makeup, maybe even breakfast. The more steps used, the more refined and ready the final product appears.
Testing Steps:
10 Steps: Basic and impressionistic, capturing the main ideas without intricate refinement.
THE LOW STEP COUNT REDUCES THE DETAILS
20 Steps: Balanced detailing, more defined but still efficient.
THIS IMAGE IS THE SAME AS THE BASE IMAGE
50 Steps: Fully polished, capturing intricate details and textures.
THE ADDITIONAL STEPS ALLOWS FOR ADDITIONAL DETAILS
5. Seed: Template or Pattern Size
The seed acts like a pattern or template size in clothing design. Picture small, medium, and large versions of the same shirt design — a consistent template that can be reused. Repeating the same seed creates consistency, while changing it introduces new variations, much like shifting a pattern size.
Testing Seed: 1234
Constant Seed: Maintained constant for comparative purposes.
THIS IMAGE IS THE SAME AS THE BASE IMAGE
Random Seed: Adds variety and unpredictability in design for unique outputs.
WITH RANDOM SEEDS, THE IMAGE WILL SLIGHTLY ADJUST
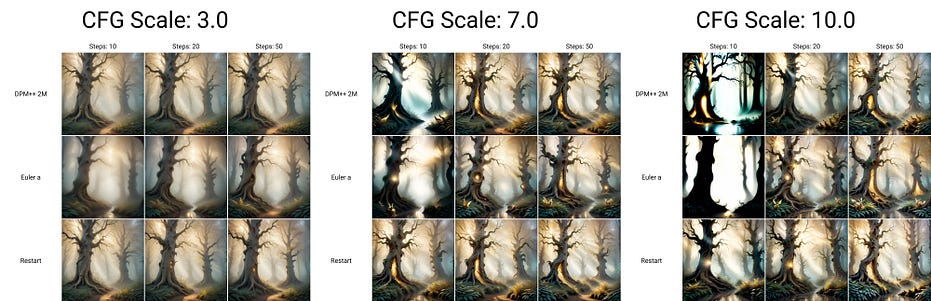
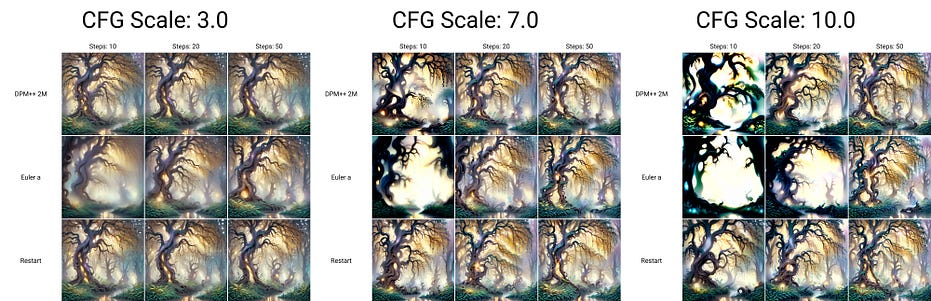
6. CFG: The Designer’s Willingness to Follow the Client’s Request
CFG, or Classifier-Free Guidance, determines how closely the designer follows the client’s instructions. High CFG means strict adherence to the prompt, like a designer following every detail. Low CFG, however, allows the designer to add personal flair, interpreting the prompt with more freedom.
Testing CFG:
CFG 3: Loose interpretation, allowing for more creativity and model freedom.

LOOSE PROMPT ADHERENCE, ALLOWS CREATIVITY
CFG 7: Balanced between prompt adherence and creativity.
THIS IMAGE IS THE SAME AS THE BASE IMAGE
CFG 10: Strict adherence, closely following the specified elements.
STRICT ADHERENCE TO THE PROMPT
7. Resolution in Height and Width: Material Quality
Resolution represents the quality of materials used. With low resolution, the outfit might lack clarity, just as lower-quality fabric can obscure the full design. Higher resolutions bring finer details to life but require more resources, just like high-grade materials demand more in terms of quality and care.
Testing Resolutions:
512x512: Basic quality, lower clarity on intricate details.
SMALLER RESOLUTION MEANS LESS DETAIL, LESS SHARPNESS, LOWER QUALITY
1024x1024: High-quality image, capturing detail and textures for enhanced clarity.
Generating the Base Images
Start with the Base Settings as defined above. Then, apply individual adjustments to each component while keeping all others constant, creating images that will highlight the specific impact of each parameter. This structured approach will showcase the flexibility of the model and provide clear visual comparisons to illustrate the role each setting plays in the final output.
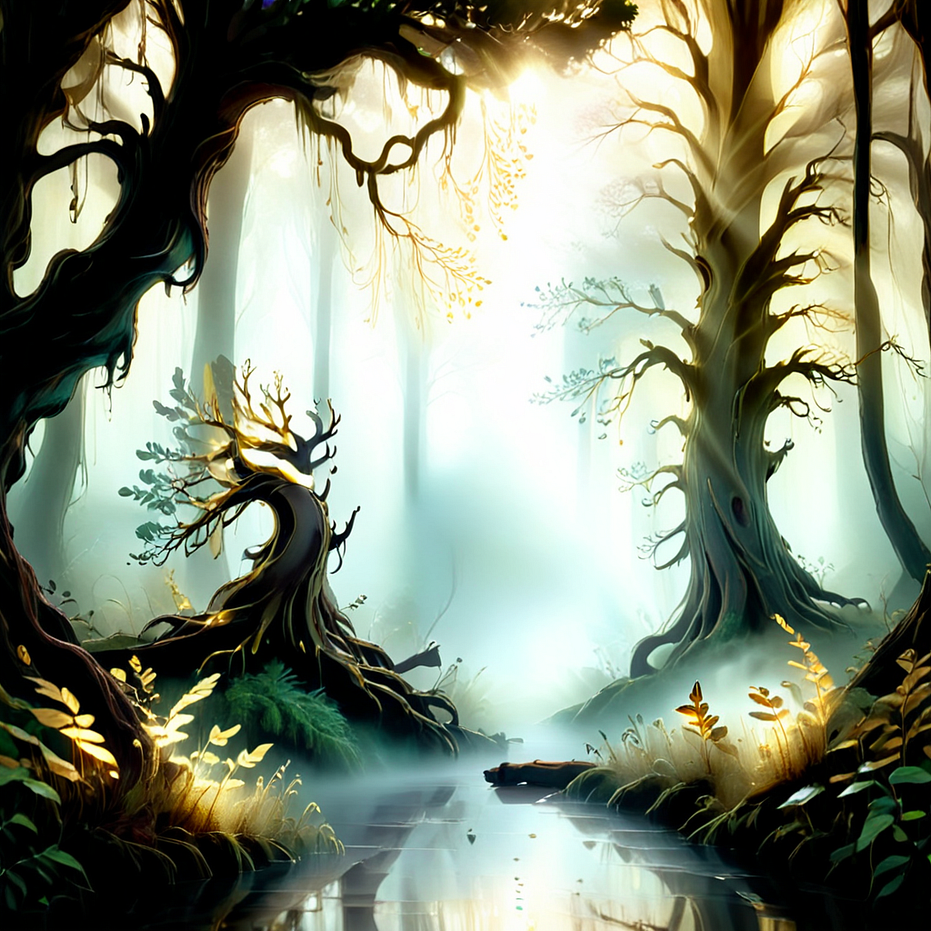
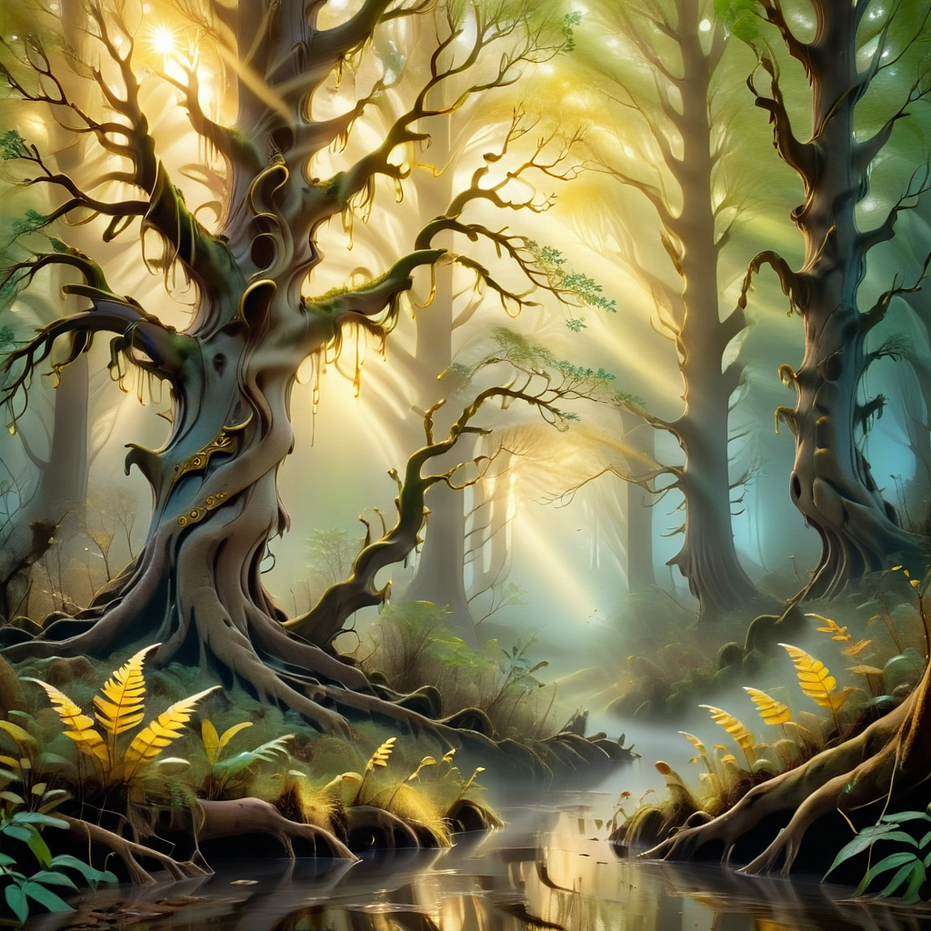
What follows is a series of XYZ PROMPT generations that allow for the altering of parameters for each picture produced and then they are placed into a graph format for examination

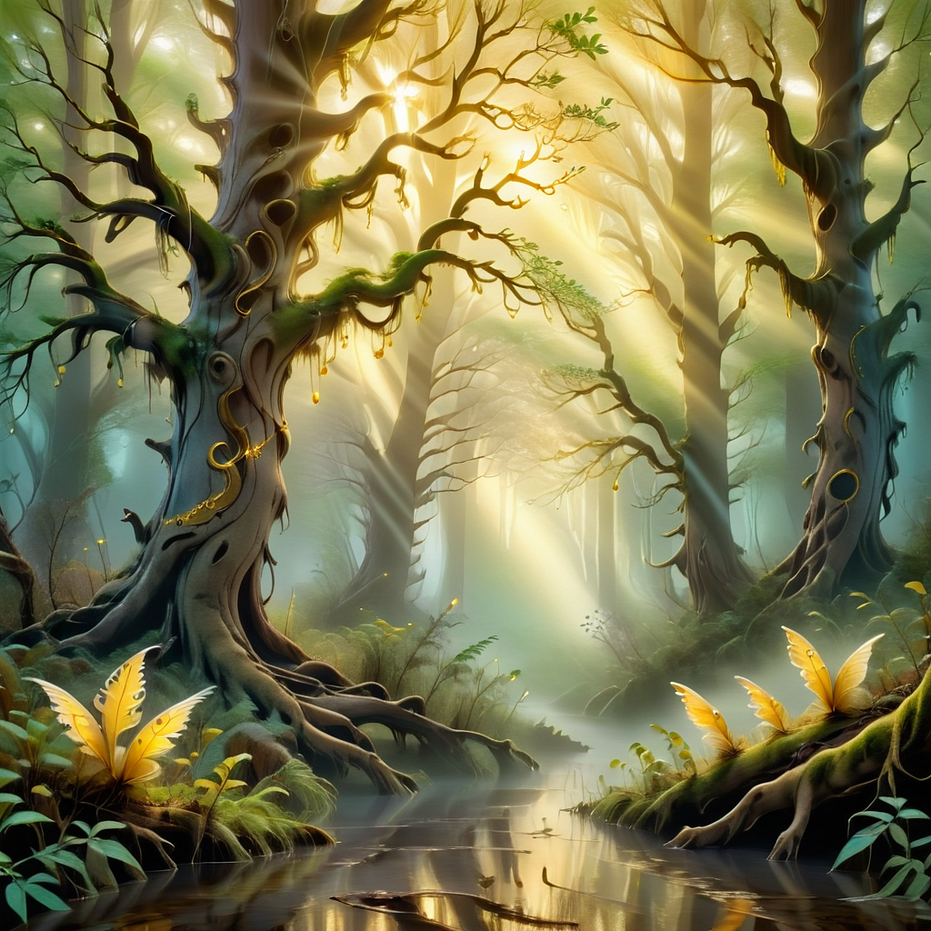
dyavision checkpoint with softsubtle lora
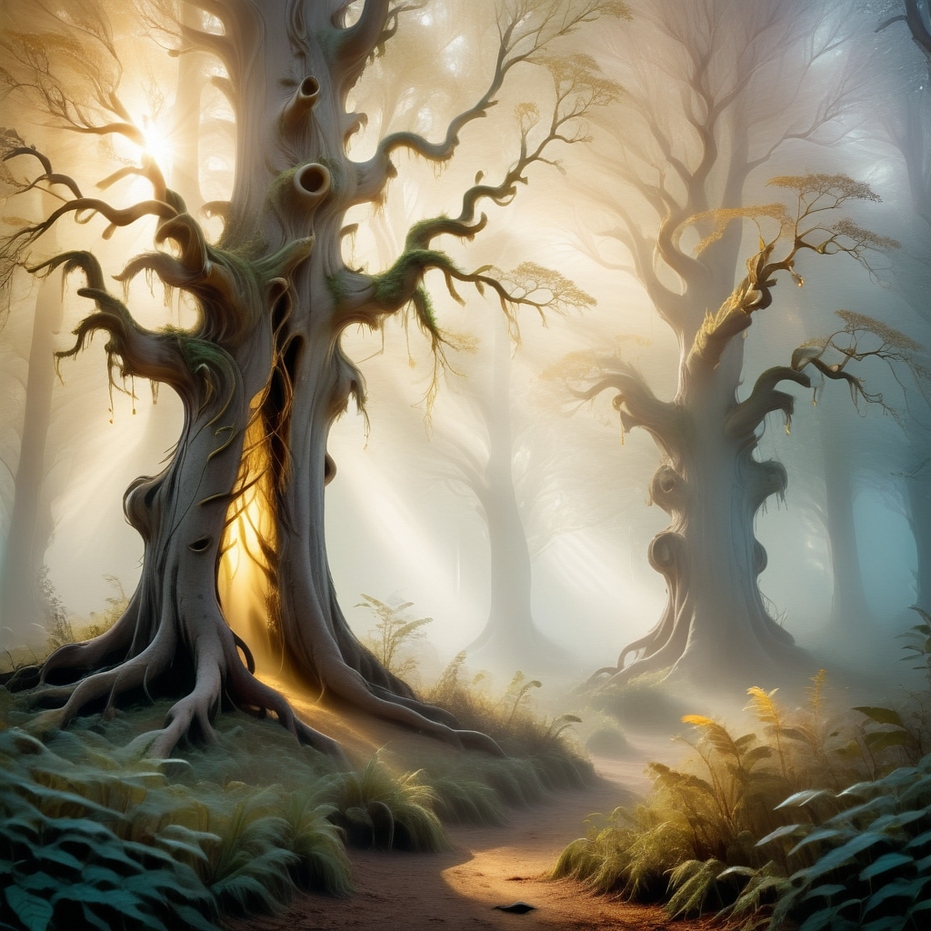
albedo checkpoint with softsubtle lora
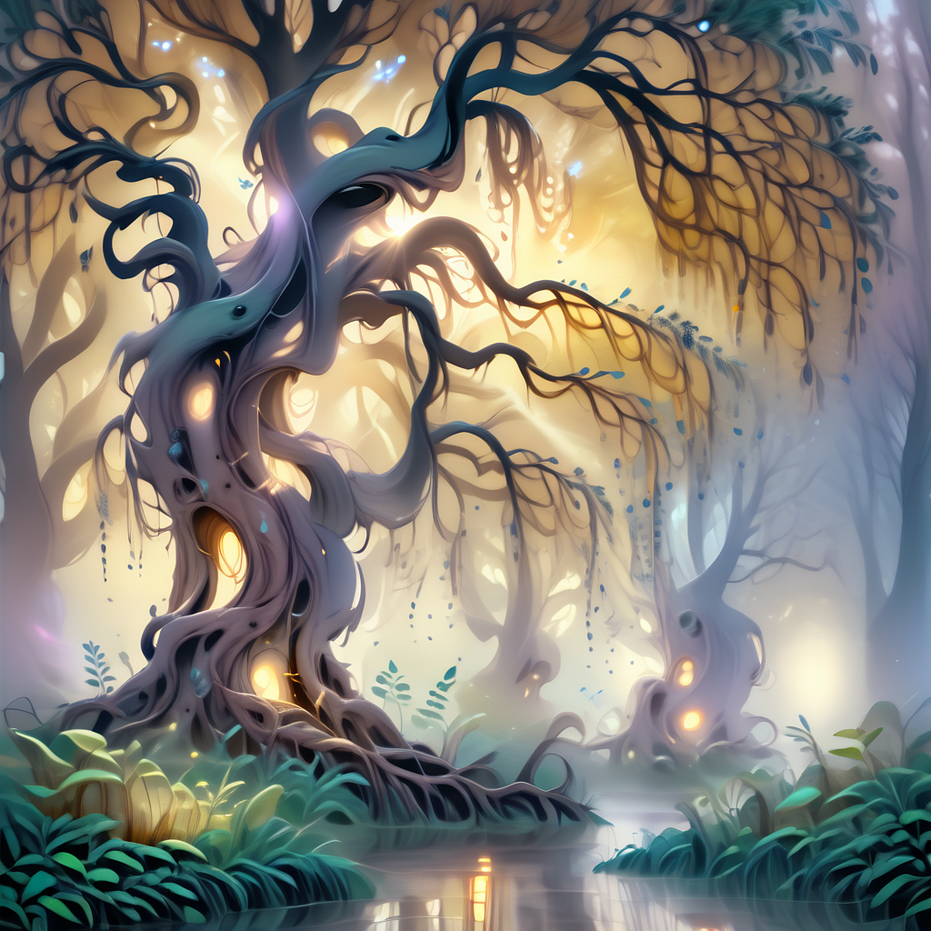
niji7 checkpoint with softsubtle lora
Final Thoughts
This analogy between text-to-image generation and fashion design captures the creative process in an accessible way. Each component — the checkpoint, LoRA, sampler, steps, seed, CFG, and resolution — plays a unique role in shaping the final image. Just as designing an outfit involves balancing purpose, quality, and resources, creating images from text requires aligning the right settings to achieve the desired result.
By generating images based on different combinations of these settings, you’ll be able to see firsthand how each element contributes to the final appearance, demonstrating how AI image generation is a blend of artistry and technical precision.